
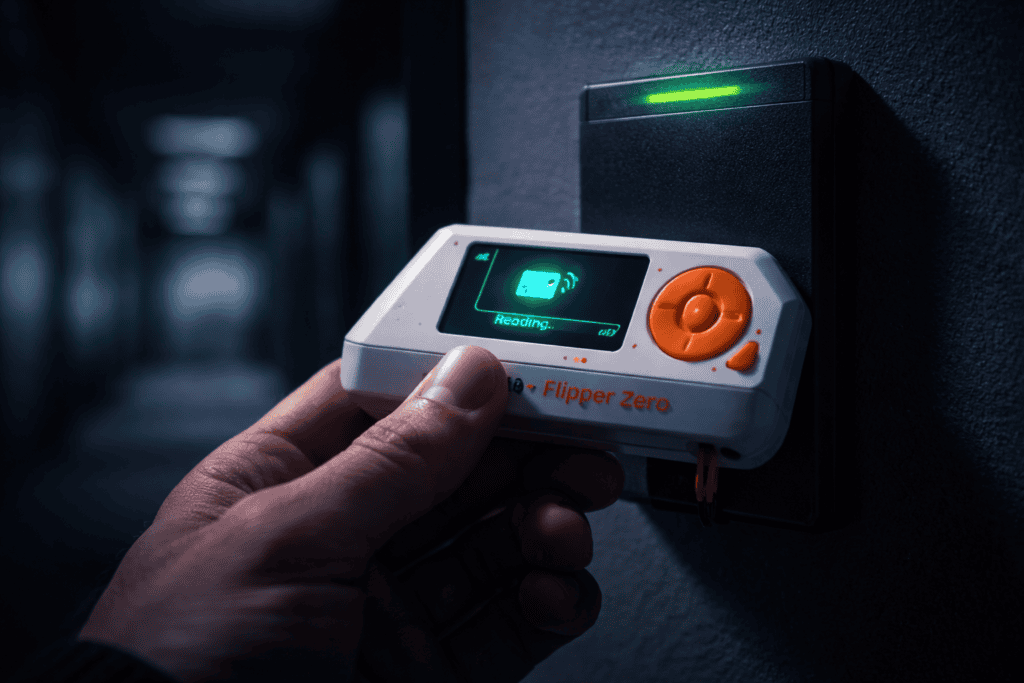
The security guard watches you fumble with your hotel keycard for the third time. The light blinks red. Again. You pull out your Flipper Zero, select the saved credential from last night, and tap. Green light. Door unlocked.
That’s the practical reality of RFID cloning—it’s not Hollywood hacking, it’s understanding how frequency-based access control actually works and where the gaps exist. This tutorial walks through the complete process of reading, saving, and emulating RFID cards using Flipper Zero, with real commands, actual frequency considerations, and the troubleshooting steps I learned after burning through dozens of test cards.
Most failed RFID cloning attempts happen because people don’t verify frequency before starting.
RFID operates on two primary bands: 125kHz (Low Frequency) for older proximity cards like HID Prox and EM4100, and 13.56MHz (High Frequency) for modern systems including MIFARE Classic, DESFire, and NFC-enabled badges. The Flipper Zero handles both, but you need to know which you’re targeting.
I’ve seen pentesters waste hours trying to clone a 13.56MHz MIFARE card using the 125kHz LF reader mode. The Flipper will just sit there scanning endlessly because you’re listening to the wrong radio spectrum—like trying to tune AM radio to an FM station.
Here’s the fast identification method: Hold the card near the Flipper’s RFID antenna (top center). Navigate to 125 kHz RFID > Read. If nothing appears after 10 seconds, back out and try NFC > Read. Whichever mode detects the card first tells you the frequency. Most corporate access cards manufactured after 2015 are 13.56MHz.

Start with LF cards—they’re simpler and teach the fundamentals without encryption headaches.
Power on your Flipper Zero and navigate to 125 kHz RFID > Read. Position the target card flat against the Flipper’s back, centered over the RFID antenna coil. You’ll see the screen change from “Reading…” to displaying the card type and ID string within 2-3 seconds if successful.
For EM4100 cards (extremely common in older building access systems), you’ll see a 10-digit hexadecimal ID. That’s the entire credential—no encryption, no challenge-response, just a broadcast identifier. Example: 0F0368AFC5. The Flipper automatically saves this to Saved > 125 kHz RFID with a timestamp.
HID Prox cards show more data: facility code and card number. A typical read displays something like HID Prox FC: 123 CN: 45678. The facility code identifies the customer/building, while the card number is the unique identifier within that system. When I first tested this against my old office building (with permission for security assessment), the FC was consistent across all employee badges but each CN was unique.
One gotcha: Some HID cards use formats beyond standard 26-bit encoding. If your Flipper reads the raw data but can’t parse it properly, you’ll see “Unknown Format” with raw waveform data. You can still emulate this—Flipper stores the complete waveform even when it can’t interpret the protocol.
MIFARE Classic cards are the security researcher’s favorite target because they’re everywhere and famously broken.
Navigate to NFC > Read and hold the card against the Flipper. Unlike LF cards, you’ll immediately see the UID (Unique Identifier)—a 4 or 7-byte hex string. But here’s where beginners get stuck: the UID is not the credential.
MIFARE cards store data in sectors protected by cryptographic keys. The default keys (known as “factory keys”) are FFFFFFFFFFFF and A0A1A2A3A4A5. Flipper Zero ships with a dictionary of common keys and automatically attempts them during read operations. If you see “Reading… Keys Found: 12/16”, it’s cracking keys for each sector.
After a successful read with keys recovered, the Flipper saves a .nfc file containing the full card dump: UID, sector data, and recovered keys. This is what you’ll later write to blank cards for cloning.
The process takes 30-60 seconds for a standard MIFARE Classic 1K card. I’ve found that holding the card absolutely still matters—any movement can interrupt the read and you’ll get partial data. If the read fails repeatedly, either the card uses non-standard keys (requiring external tools like proxmark3 for key recovery) or it’s not a Classic card at all. MIFARE DESFire and Plus cards use stronger encryption that Flipper Zero cannot currently crack on its own.
This is critical: You cannot write a cloned UID to standard MIFARE cards. You need UID-writable cards (also called “magic cards” or “Chinese magic backdoor cards”).
Regular MIFARE Classic cards have UIDs burned into ROM at manufacture—unchangeable. UID-writable cards use a backdoor command that allows UID modification. When you navigate to NFC > Write, the Flipper detects whether your blank card is UID-writable. If it’s not, you’ll see “Incompatible Card” and the write fails.
The Ultimate RFID Blank Tag Pack includes both 125kHz T5577 rewritable cards and 13.56MHz UID-writable MIFARE blanks. I keep a dozen of each in my kit because you’ll burn through test writes faster than you expect during security assessments.
Here’s where Flipper Zero beats dedicated cloners like the iCopy-X: You don’t always need a physical duplicate card.
After saving an RFID credential, navigate to Saved > 125 kHz RFID or Saved > NFC and select your saved file. Instead of “Write,” choose Emulate. The Flipper’s antenna now broadcasts the saved credential as if it were the original card. Hold it against a reader and in most cases, it authenticates identically.
I’ve used this during red team engagements to test multiple saved credentials rapidly without carrying a wallet full of cloned cards. Emulation works flawlessly for EM4100 and HID Prox. For MIFARE Classic, emulation succeeds if the reader only checks UID (many legacy systems do this), but fails if the reader performs cryptographic challenge-response against sector data.
One limitation I discovered the hard way: Emulation drains battery faster than you’d expect. During an eight-hour security assessment where I was testing saved badges against 30+ doors, my Flipper died at hour six. Now I carry a small power bank—the 10,000mAh battery pack fits in the same pouch.
You’ve read a card, saved the dump, and now you want a physical clone that works when Flipper isn’t present.
For 125kHz LF cards: Navigate to the saved credential and select Write. Place a blank T5577 card (included in most RFID blank packs) flat against the Flipper’s back. Select “Write.” The process takes 2-3 seconds. You’ll see “Successfully Written” if it worked. Test immediately by reading the new card—it should display identical data to your original.
For 13.56MHz MIFARE cards: This requires a UID-writable blank. Navigate to the saved .nfc file and select Write. Position the blank card and initiate write. The Flipper writes UID, sector data, and keys. This takes 15-20 seconds for a complete 1K card. If you get “Write Failed,” verify your blank is actually UID-writable by testing with a known-good dump first.
Pro tip from painful experience: Label your cloned cards immediately. I once mixed up three hotel keycards during a security conference and spent 20 minutes re-reading and re-cataloging. Use a label maker or permanent marker on the non-chip side.
The Chameleon Ultra RFID Emulator is purpose-built for RFID emulation and offers capabilities Flipper Zero can’t match.
It supports simultaneous slot emulation—store 8 different credentials and switch between them via button press without connecting to a device. During physical security assessments where you’re testing multiple badges quickly, this eliminates the need to navigate menus or carry multiple cards. I’ve switched to Chameleon for engagements specifically because of this.
The Chameleon also handles MIFARE Classic card detection significantly faster and includes built-in Darkside and Nested attack capabilities for key recovery when dictionary attacks fail. If you’re facing non-standard keys regularly, Chameleon is worth the investment. But for learning RFID fundamentals and general security research, Flipper Zero remains unbeatable for its price and multi-tool versatility.
For automated cloning workflows (like copying 50+ employee badges for a large-scale security audit), the iCopy-X is the specialized tool—it requires zero technical knowledge and completes reads/writes in under 10 seconds per card. But it’s a one-trick device with none of Flipper’s broader capability.
“Incompatible Card Type” when trying to write: Your blank card isn’t the right format. T5577 for 125kHz, UID-writable MIFARE for 13.56MHz. Not all “blank RFID cards” sold online are actually writable—verify specs before ordering.
Read succeeds but emulation doesn’t work: The reader likely performs cryptographic verification beyond UID checking. This is common with newer MIFARE DESFire systems. Emulation only works when the reader accepts UID alone or uses broken MIFARE Classic authentication.
Partial sector reads on MIFARE cards: The card uses non-default keys that aren’t in Flipper’s dictionary. You’ll need to export the partial dump and use a Proxmark3 or Chameleon Ultra’s hardnested attack to recover remaining keys, then import back to Flipper. The MITRE ATT&CK framework documents this under technique T1528 for physical credential access.
Clone works initially but stops after a few hours: Some access control systems implement UID randomization or rolling codes. Each tap generates a new expected credential. Your static clone becomes invalid after the legitimate card is used again. This is actually good security design—it means the system detected your test and you should document this finding.
I’m going to be direct because this matters: Cloning RFID credentials you don’t own or don’t have explicit authorization to test is illegal in most jurisdictions under computer fraud and unauthorized access laws.
Every technique in this tutorial is legal when applied to your own property, systems you’ve been hired to test (with written authorization), or controlled lab environments with cards you purchased for research. The moment you clone someone else’s access badge without permission, you’ve crossed into criminal activity regardless of intent.
Security researchers operate under frameworks like NIST SP 800-115 for penetration testing authorization. Before conducting RFID cloning tests, ensure you have documented scope, written permission from system owners, and clear rules of engagement. During corporate security assessments, I make clients sign explicit authorization for physical security testing that lists RFID cloning by name.
For personal learning, buy your own test cards. The NTAG215 Programmable NFC Stickers are cheap enough to experiment with repeatedly. Set up your own test reader (a $15 USB RFID reader from any electronics supplier) and practice the full workflow in a controlled environment. This builds genuine skill without legal risk.
Once you’ve mastered basic cloning, several advanced capabilities become relevant for serious security assessments.
Fuzzing RFID readers involves sending malformed or unexpected data to test for vulnerabilities in reader firmware. The Flipper Zero community has developed custom firmware like Unleashed and RogueMaster that include RFID fuzzing modules. I’ve discovered buffer overflow vulnerabilities in budget readers this way during security audits.
UID brute forcing attempts sequential UIDs to find valid credentials by trial and error. For systems with small UID spaces (like some gym or parking lot access systems with sequentially issued cards), this can be surprisingly effective. Navigate to a custom script via qFlipper application to automate this process, though it’s noisy and will definitely appear in access control logs.
Long-range RFID reading requires external antenna upgrades. Stock Flipper Zero reads at approximately 2-4cm distance for LF and 1-2cm for NFC. With a high-gain external coil antenna, you can extend this to 15-20cm for LF cards. This crosses into covert surveillance territory and is ethically questionable even in authorized security tests—I mention it only for awareness, not recommendation.
The SANS Institute’s physical security testing guides cover these techniques in more detail for professional security assessors working under proper authorization.
Flipper Zero’s RFID capabilities are impressive but not unlimited.
Ultra-high frequency (UHF) 860-960MHz tags used in supply chain and long-range vehicle access systems aren’t supported. Flipper handles only LF (125kHz) and HF (13.56MHz). If you’re testing UHF systems, you need specialized equipment like the Impinj Speedway reader or a dedicated UHF pentesting device.
Multi-technology cards that combine different RFID frequencies in one credential can cause confusion. I encountered this at a government facility where employee badges had both 125kHz Prox (for building access) and 13.56MHz PIV (for computer login). The Flipper read both, but I had to manually correlate which credential controlled which system through testing.
Damaged or worn cards with degraded antennas may read inconsistently. If you get intermittent reads, try multiple angles and positions against the Flipper’s antenna. Sometimes cards that barely work in production readers are completely unreadable with Flipper’s lower-power antenna.
A complete RFID security research setup includes more than just the Flipper Zero.
Start with the Flipper Zero
