
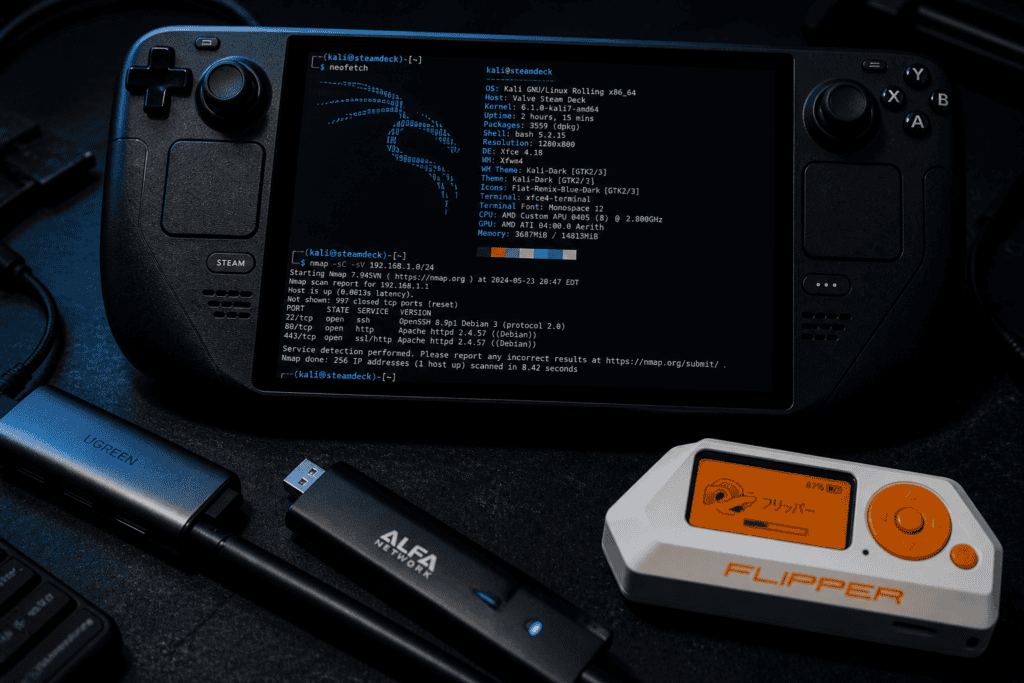
The Best Pentesting Box You Already Almost Own Your laptop weighs three pounds, runs hot in any enclosed space, and has a battery that survives roughly two hours of active Burp Suite sessions before it starts begging for a wall socket. Meanwhile, the Steam Deck OLED , Valve’s handheld gaming computer , ships with a 50Whr battery, a full x86-64 AMD APU, 16GB of RAM, and a Linux-based OS that is, at its core, just Arch with a custom compositor bolted on top.
People are using it to run Nmap. Full Metasploit sessions. Wireshark captures on hotel networks. This is not theoretical.
This Steam Deck pentesting setup guide is for people who have either already bought one and are staring at the desktop mode wondering what to do next, or who are seriously considering it as a legitimate field tool. Either way , let’s get into what actually works, what doesn’t, and where the real friction lives.
The use case isn’t “I want to hack from my couch” (though, sure). It’s operational context — physical engagements, red team scenarios where pulling out a full laptop signals exactly what you’re doing. A handheld gaming device looks like someone killing time between meetings.
There’s also the pure portability angle. Kali on a Pi 4 has been a thing for years, but the Pi has no screen, no battery, and needs an external keyboard that turns “discreet” into “absolutely not discreet.” The Steam Deck solves the form factor problem that dedicated handheld pentesting hardware has never quite solved cleanly.
The OLED model specifically matters. The 2023 refresh brought better battery life (they rated it at 30–50% improvement depending on workload), faster WiFi 6E support, and a marginally improved CPU boost. For a handheld pentesting computer, that runtime difference is real.
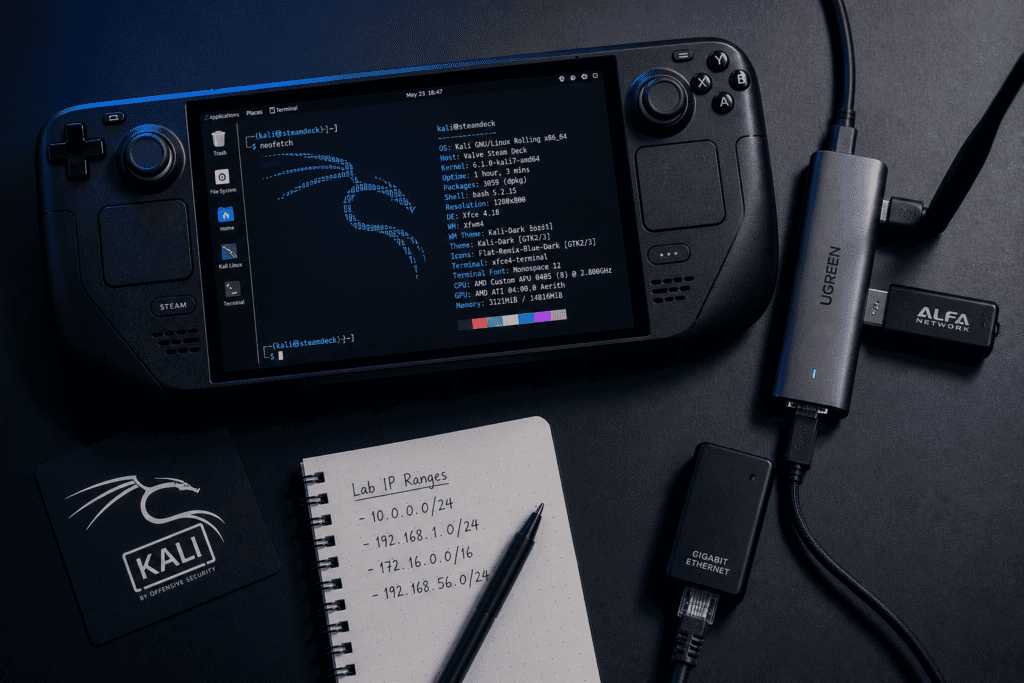
There are two real paths. One is clean and reversible. The other is clean and permanent. Pick according to your risk tolerance.
Valve’s SteamOS is built on a read-only root filesystem, which makes it annoying to install packages natively and means updates from Valve can nuke your changes. Dual booting Kali from a microSD card sidesteps all of that.
The process: flash Kali’s official Steam Deck image to a microSD card using Rufus or dd, boot into the BIOS by holding Volume Down + Power, and select the SD card. That’s it — Kali boots fully, sees the hardware correctly (mostly), and leaves SteamOS untouched on the internal drive. Holding Volume Down during boot gives you the boot menu indefinitely. No permanent changes to the base system.
Kali ships an image specifically for the Steam Deck. It includes touchscreen support, the correct display resolution, and basic controller mapping for desktop use. It’s not perfect — more on that — but it’s a real starting point, not a hack.
If you bought the Deck purely for security work and have zero interest in gaming on it, flashing Kali directly to the internal NVMe is reasonable. You get faster storage, and you don’t have to think about microSD reliability during extended engagements. The tradeoff is that returning to SteamOS requires re-flashing via Valve’s recovery image — not catastrophic, but a step.
Either way, this is your Steam Deck pentesting setup guide foundation: get Kali running on hardware you control, with a persistent install, before you touch a single tool.
The internal WiFi card — an AMD RZ616 on the OLED model — does not support monitor mode or packet injection. This is the single biggest constraint in a Steam Deck Kali Linux workflow and there is no software workaround. The driver simply doesn’t expose those capabilities.
If wireless testing is in scope for your work, you need an external adapter. The Alfa AWUS036ACM is the most commonly recommended option — good driver support under Linux, dual-band, and it works over USB-C with a small hub. The Alfa AWUS036AXML gets you WiFi 6 if you need it for testing newer infrastructure. Both work. Budget accordingly.
The USB-C port is your only physical I/O. A compact USB-C hub with USB-A ports, ethernet, and passthrough charging is not optional — it’s table stakes. Running off USB power while doing an extended capture means you’re not watching a battery percentage creep down in the background.
Bluetooth is functional and does support some tooling (Bettercap has basic BLE scanning support that works), but don’t expect the same flexibility you’d get from a dedicated BLE dongle.
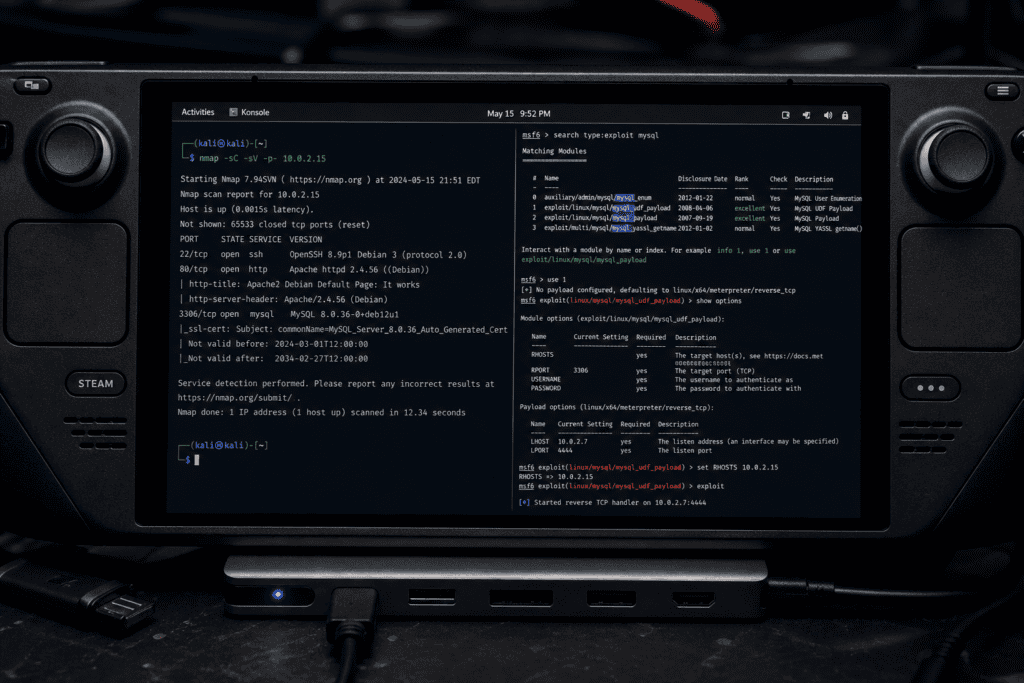
The AMD APU in the OLED is not a powerhouse — it’s a Zen 2 architecture part with integrated RDNA 2 graphics. But for most security tooling, raw CPU performance is rarely the bottleneck. Network I/O and RAM are, and on both counts the Deck holds up.
What runs well in practice:
The MITRE ATT&CK framework covers initial access through exfiltration — and a properly set up Deck can legitimately support tactics across most of that chain for network-based engagements. It’s not replacing your main rig. It’s an extremely capable supplementary tool.
If you’re running from microSD, use a fast card. A UHS-I U3 rated card is the minimum — a UHS-II card is noticeably better. Kali’s toolset generates a lot of small file I/O and a slow card will make you feel it. A 256GB card gives you enough room for a full Kali install, tool data, and capture files without micromanaging space.
The Steam Deck’s physical controls are surprisingly workable for terminal-heavy work, but it takes configuration. The left and right trackpads function as mouse inputs in desktop mode, and they’re accurate enough. The face buttons can be mapped to keyboard shortcuts for things you hit constantly — tab completion, Ctrl+C, arrow keys.
For anything involving heavy typing — writing reports in the field, composing complex command chains — a small Bluetooth keyboard is worth carrying. The on-screen keyboard is fine for short commands, less fine for anything more involved.
The gyro also works as a mouse in desktop mode. It’s genuinely useful for navigating GUIs when you don’t want to use the trackpads. This sounds gimmicky until you’ve used it for ten minutes.
Battery life under Kali is good — not as good as gaming workloads, but substantially better than a laptop running active recon. Expect 4–6 hours of mixed terminal and light network work without the external adapter drawing power. Drop that to 3–4 hours with an adapter and active scanning.
Thermal performance under sustained CPU load is fine. The Deck throttles itself before it gets hot enough to be a problem, and passive scanning workloads barely push the fan at all.
One thing worth flagging: SteamOS updates will not touch a Kali install on a separate microSD. But if you’re dual-booting on internal storage with a custom partition layout, Valve’s OTA updater can and will complain. Kali on SD is cleaner from a maintenance perspective precisely because the two systems don’t interact.
The Steam Deck pentesting setup guide conversation you’ll find in most forums skips over operational security habits. If you’re using this in professional engagements: encrypt your storage, use a clean profile for each engagement, and don’t leave sensitive captures sitting in an unencrypted home directory. Same rules as any other engagement machine, just smaller.
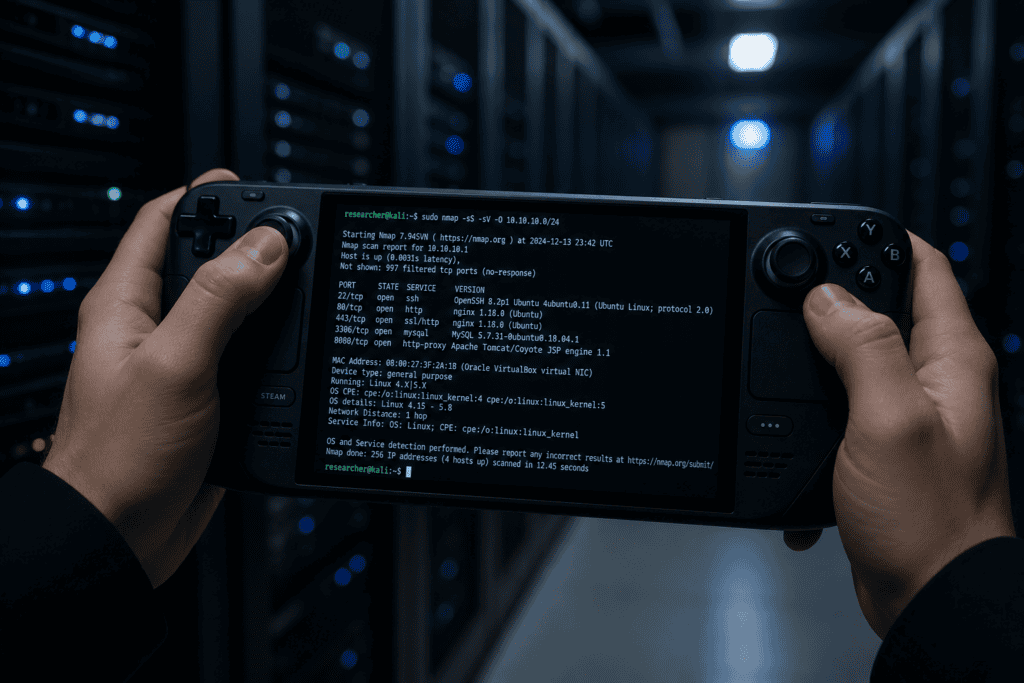
The Steam Deck OLED retails at $549. A dedicated handheld pentesting computer from niche security hardware vendors — when they exist — typically runs more than that for less capable hardware. The Deck gives you a modern x86-64 machine, a real operating system, a 7-inch touchscreen, and a battery that lasts a workday of light use.
The caveats are real: no native monitor mode WiFi, single USB-C port, screen size that makes extended Burp sessions uncomfortable, and a form factor that requires some adaptation for heavy keyboard work. None of those are dealbreakers depending on your workflow — they’re just constraints to work within, not around.
For physical red team engagements, travel-light network assessments, CTF work at events, or as a secondary machine during field ops — this Steam Deck pentesting setup guide points to a setup that legitimately holds up. Not because it’s exotic, but because the hardware is genuinely capable and Kali’s Steam Deck image means the friction of getting there is lower than it’s ever been.
It works. Mostly. Until you need monitor mode WiFi without an adapter, and then it very specifically doesn’t. Know the constraints, work within them, and this is one of the more interesting handheld pentesting platforms available without custom hardware or a significant budget premium.
Security tooling has always found its way onto whatever hardware makes operational sense — from modified Raspberry Pis zip-tied inside server rooms to NUCs running in drop ceilings. The Steam Deck is the latest in a long line of “this wasn’t designed for this, but it works” hardware adaptations. The difference is that it’s polished, commercially supported, and widely available.
The real flex isn’t that you can run Metasploit on a handheld. It’s that you can do it on hardware that costs less than most commercial pentesting appliances, runs a first-class Linux distribution, and fits in a jacket pocket. That’s worth paying attention to — even if it looks like you’re just playing games.
If you’re building out a kit around this platform or looking for the complementary hardware that makes a setup like this actually field-ready, see what we carry , the adapters, hubs, and accessories that close the gap between “technically possible” and “operationally ready.”
