
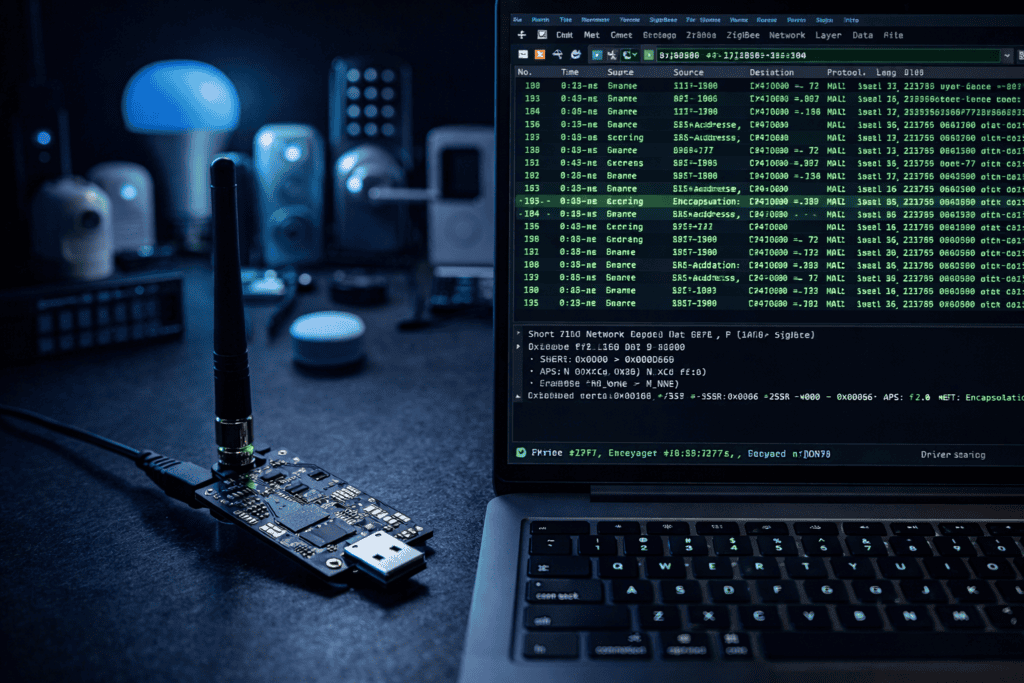
Most smart home networks leak more data than homeowners realize. I discovered this the hard way after setting up a Zigbee sniffer for the first time and watching unencrypted join requests fly across my neighbor’s network. Zigbee protocol security testing isn’t just academic anymore, it’s essential for understanding IoT vulnerabilities that affect millions of deployed devices. Whether you’re auditing enterprise IoT deployments or testing your own smart home setup, proper protocol analysis separates guesswork from actual security posture.
The problem? Most security researchers treat Zigbee like Wi-Fi and wonder why their tools don’t work. Zigbee operates on IEEE 802.15.4, uses mesh networking, and has encryption quirks that make packet capture tricky even with dedicated hardware. This guide covers the actual process, hardware selection, capture setup, decryption workflows, and vulnerability patterns I’ve found in real deployments.
Smart home adoption exploded over the past three years. According to industry reports, over 300 million Zigbee devices shipped globally in 2024. That’s door locks, thermostats, medical sensors, and industrial controls all using the same protocol stack.
The security model assumes proper implementation. In practice, I’ve found default link keys still active in production devices, unauthenticated pairing modes left open, and network keys transmitted in plaintext during commissioning. These aren’t theoretical they’re exploitation vectors I’ve demonstrated on consumer hardware.
Zigbee operates in the 2.4 GHz ISM band using 16 channels. Each channel is 5 MHz wide, and devices can hop between them for interference avoidance. This channel hopping complicates passive monitoring compared to single-channel protocols. You need hardware that can either track channel changes or capture across multiple channels simultaneously.
The mesh topology means every device can route traffic. One compromised bulb becomes your pivot point into the entire network. I’ve used this in testing to reach door locks four hops away from my entry point. Traditional perimeter security doesn’t apply when your attack surface includes every $15 smart plug.
Zigbee sits on top of IEEE 802.15.4 for the physical and MAC layers. Above that, you get the Zigbee network layer (NWK) handling routing and security, and the application layer (APS) managing endpoints and clusters.
Security happens at two layers. The NWK layer uses a network key shared by all devices for encrypting routing and control frames. The APS layer uses link keys for end-to-end encryption between specific device pairs. If you’re testing security, you need both keys to decrypt most traffic.
You have three realistic options for Zigbee packet capture. The TI CC2531 USB dongle is the budget choice at around £30. It works with the official TI packet sniffer software but locks you into Windows. I burned through two of these before upgrading because the firmware is finicky and capture drops are common under heavy traffic.
The better option is a dedicated Zigbee Sniffer Kit built around newer silicon like the CC2652 or nRF52840. These handle multi-channel capture, have better sensitivity, and work with open-source tools. Your packet capture quality directly impacts your ability to decrypt traffic later. Dropped frames mean missing key exchanges.
For mobile testing, I pair a Flipper Zero with a CC1101 add-on board for Sub-GHz work, then use a separate Zigbee sniffer for 2.4 GHz. The Flipper handles replay attacks and basic RF analysis while the dedicated sniffer captures protocol-level traffic. This combo costs around £350 total but covers most wireless IoT testing scenarios.
The capture software matters as much as the hardware. Wireshark with the Zigbee dissector plugins is standard. You’ll also want KillerBee (Python toolkit for 802.15.4/Zigbee) and zbstumbler for network discovery. Install all three before you start capturing.
Start with network discovery. Run zbstumbler in scanning mode to identify active Zigbee networks in range. You’ll see PAN IDs, channel numbers, and device counts. Pick your target network and lock your sniffer to that channel.
The critical phase is capturing the network key exchange. New devices joining a Zigbee network receive the network key encrypted with a transport key during commissioning. If you catch this exchange, you can derive the network key and decrypt subsequent traffic.
I keep my sniffer running continuously during testing because you never know when a device will rejoin or a new device will pair. I caught a smart lock transmitting its network key in plaintext during a firmware update three hours into a capture session. Patience pays off.

Raw Zigbee captures are encrypted. You need keys to make sense of the data. The default Zigbee Alliance link key (ZigBeeAlliance09) works surprisingly often. I’ve successfully decrypted traffic from major smart home brands using this default key because their devices never rotated it post-install.
Configure Wireshark’s Zigbee security settings before opening your capture file. Add known network keys and link keys to the decryption table. Enable the “Try to decrypt with network key” option. Reprocess the capture and watch previously garbled packets resolve into readable application commands.
For hardened networks, you need to sniff the actual key exchange or extract keys from hardware. I’ve pulled network keys from smart bulbs using JTAG and SWD debug interfaces. The Raspberry Pi 5 makes an excellent debugging platform with OpenOCD for this work. You’re looking for keys stored in flash memory or transmitted during firmware updates.
The KillerBee toolkit includes zbdsniff for automated key extraction from captures. Point it at your pcap file and it’ll search for common transport key patterns and attempt decryption. This works best with full captures starting from network formation.
After testing dozens of smart home deployments, certain patterns repeat. Unauthenticated pairing modes left active past initial setup are everywhere. I’ve joined live Zigbee networks without any authorization simply by sending a join request during the permitting period.
Install codes were supposed to fix this. They’re unique per-device keys derived from a code printed on the device label. In practice, many devices accept the default install code or ship with predictable variants. I’ve scripted install code generation based on MAC addresses and successfully commissioned devices without physical access.
Touchlink commissioning is another common weakness. It’s supposed to require physical proximity (touching the device with a commissioning tool). The reality is touchlink requests work from several meters away. I’ve factory-reset and re-commissioned smart bulbs from outside buildings using this method.
Zigbee supports automatic network key rotation as a security mechanism. The coordinator can generate a new network key and distribute it to all devices, then switch to using the new key. This limits the impact of a compromised key.
Most networks I’ve tested never rotate keys. Ever. I’ve captured the same network key in use on a corporate IoT deployment over an eight-month testing period. Once you have that key, you maintain access indefinitely unless someone physically resets every device.
The key distribution process itself has timing vulnerabilities. All devices must receive and acknowledge the new key before the coordinator switches to using it. If you jam this distribution, devices end up out of sync and the network fragments. I’ve caused denial-of-service conditions during key rotation on test networks by selectively jamming acknowledgment frames.
My current setup uses a Zigbee Sniffer Kit for passive capture, a CC2531 running alternative firmware for injection attacks, and a Raspberry Pi 5 running Kali Linux as the analysis workstation. Total cost around £450 excluding the Pi if you already have one.
The Pi 5 handles Wireshark, KillerBee, and Scapy scripts without performance issues. I can capture on one USB sniffer while simultaneously injecting with another and analyzing in real-time. The 8GB RAM model prevents capture buffer overflows during extended sessions.
For mobile testing, everything fits in a small backpack. A power bank keeps the Pi running for 4-6 hours. I use a small wireless keyboard for field work, but SSH from my phone works for most tasks. The entire kit draws under 15W so battery life isn’t a concern.
Storage matters more than you’d expect. A busy Zigbee network with 20+ devices generates 500MB-1GB of capture data per hour. I use a 256GB microSD card in the Pi and back up captures to cloud storage nightly. You’ll want those captures for offline analysis and report generation.
Once you have decrypted traffic, the real analysis begins. I use Scapy to parse Zigbee frames and extract application-layer commands. This reveals what devices are actually doing—door lock states, thermostat setpoints, occupancy sensor data.
Build a device database as you test. Note MAC addresses, device types, supported clusters, and command sequences. This knowledge transfers between deployments because many devices use identical chipsets and firmware. A Philips Hue bulb behaves the same everywhere.
Look for insecure defaults in cluster configurations. Many devices expose sensitive attributes with read/write access to any network member. I’ve changed smart lock PIN codes by writing to the door lock cluster without any additional authentication beyond network membership.
With network access established, injection attacks become possible. Craft custom Zigbee frames using KillerBee’s kbstab tool or Scapy. Send commands directly to devices or impersonate trusted network members.
Replay attacks work better than they should. Many Zigbee implementations don’t properly validate frame counters or use nonces. I’ve replayed door unlock commands captured hours earlier and had them execute successfully. The devices had no mechanism to detect the replay.
For testing replay resistance, capture a legitimate command frame, modify the timestamp, and retransmit it. If the device executes the command, you’ve found a vulnerability. Document the device model, firmware version, and cluster details for your report.
After breaking Zigbee security, let’s talk defense. Enable install codes if your coordinator supports them. This prevents unauthorized device joining even during commissioning periods. Document and securely store your install codes—you’ll need them for legitimate device additions.
Implement network key rotation on a schedule. Quarterly rotation limits exposure from compromised keys. Test this in your lab first because poorly implemented rotation will fragment your network. Some devices handle key updates gracefully, others don’t.
Disable touchlink commissioning unless you specifically need it. Most controllers allow this as a configuration option. The convenience isn’t worth the security risk for most deployments. If you must use touchlink, do it with the coordinator’s antenna directly against the device to minimize range.
Physical security matters for IoT devices. An attacker with physical access to a coordinator can extract network keys, flash malicious firmware, or simply steal the device. Secure your coordinator in a locked cabinet or equipment room. Treat it like network infrastructure.
Before you start testing, understand the legal boundaries. Testing your own network is legal everywhere. Testing a client’s network requires written authorization detailing scope, methods, and timeframes. Zigbee sniffing without authorization likely violates wiretapping laws in most jurisdictions.
If you discover vulnerabilities during research, follow responsible disclosure practices. Contact the vendor first, give them 90 days to patch, then publish your findings. MITRE provides CVE IDs for IoT vulnerabilities if you need formal tracking.
Document everything during testing. Capture files, timestamps, device information, and command sequences all matter for reports and legal defense if questions arise later. I keep testing logs for at least two years after completing engagements.
For more information on IoT security standards and testing frameworks, the [OWASP IoT Security Project](https://owasp.org/www-project-internet-of-things/) provides excellent resources. NIST also publishes guidelines for IoT device security that inform testing methodology.
What’s the difference between Zigbee and Z-Wave for security testing? Zigbee operates on 2.4 GHz with higher data rates but more interference, while Z-Wave uses sub-1 GHz frequencies with better range. Z-Wave networks are typically smaller and use proprietary encryption that’s harder to analyze without vendor cooperation. Your sniffer hardware differs completely between protocols.
Can I use a WiFi Pineapple to test Zigbee networks? No. WiFi Pineapple operates on 802.11 (WiFi) which is completely different from 802.15.4/Zigbee despite sharing the 2.4 GHz band. You need dedicated Zigbee sniffer hardware with proper radio chipsets. Mixing up these protocols is like trying to use an FM radio to listen to WiFi.
How long does it take to capture a Zigbee network key? It depends entirely on network activity. If devices are actively joining or a key rotation happens, you might capture it in minutes. On a stable network with no changes, you could wait days. I usually combine passive capture with active triggering—factory resetting a test device to force a join sequence.
Is Flipper Zero enough for complete Zigbee testing? Not by itself. Flipper Zero excels at Sub-GHz (under 1 GHz) protocol work but has limited Zigbee capabilities. You need a dedicated Zigbee sniffer for proper 802.15.4 packet capture and decryption. Use them together—Flipper for general RF analysis and replay attacks, dedicated sniffer for protocol-level testing.
Start with your own smart home deployment before touching client networks. Build a test environment with mixed device types and practice capturing keys, decrypting traffic, and documenting vulnerabilities. The experience translates directly to professional penetration testing.
The threat landscape keeps evolving as more critical infrastructure moves to Zigbee. Medical devices, industrial sensors, and building automation systems all present higher-stakes testing scenarios than smart bulbs. Your methodology stays the same but the impact analysis changes significantly.
If you’re serious about IoT security research, proper tooling makes the difference between surface-level testing and deep protocol analysis. Explore our complete range of wireless security testing hardware to build a professional-grade lab.
